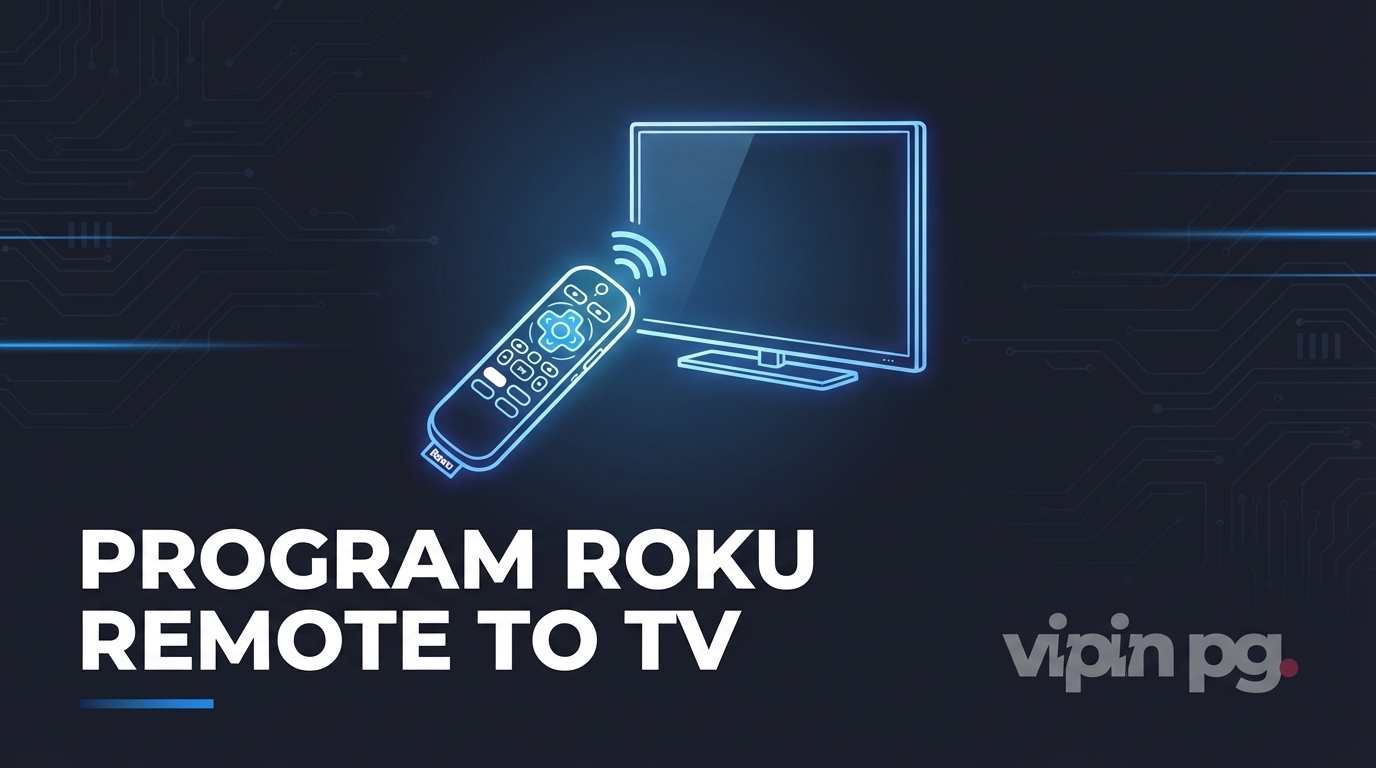
If you’re tired of juggling two remotes — one for Roku, one for your TV — you’re not alone. The good news is that most Roku enhanced and voice remotes can be programmed to control your TV’s power and volume, turning that pile of remotes into a single device. This guide walks you through every method, from the initial setup wizard to the Settings menu, and covers what to do when the automatic detection doesn’t go as planned.
Before diving into the steps, it’s worth understanding which remote you actually have — because not all Roku remotes are created equal when it comes to TV control.
Roku Simple Remote vs. Roku Voice Remote: Which One Do You Have?
Roku ships two distinct types of remotes, and only one of them can control your TV’s power and volume:
- Roku Simple Remote — Uses infrared (IR) technology and requires direct line-of-sight to the Roku device. It has directional buttons and a few media controls, but no volume or power buttons. You cannot program it to control your TV.
- Roku Voice Remote (Enhanced Remote) — Connects via Bluetooth or Wi-Fi Direct, so it doesn’t need line-of-sight. It includes a microphone for voice commands, plus dedicated volume up/down, mute, and power buttons. This is the remote you can program to control your TV.
If your remote has volume buttons on the left side and a power button at the top, you have a voice or enhanced remote — and you’re good to go. If it doesn’t, skip to the last section of this guide for alternatives.
Pro Tip: Roku introduced enhanced remote support with the Roku Streaming Stick+ and Roku Ultra in 2017. If your device is older than that, your bundled remote may be the simple IR type. Check the Roku official remote setup guide to confirm compatibility for your specific model.
Before You Start: What You’ll Need
A few things to check before running through the setup:
- A Roku enhanced or voice remote with volume and power buttons
- Fresh batteries in the remote
- Your TV’s volume turned up to an audible level (the setup plays a test tone)
- Your Roku device connected directly to your TV via HDMI — not through a soundbar or AV receiver during setup
- Clear line-of-sight between the remote and your TV’s IR receiver during the process
That last point about soundbars is important. If your Roku is connected to a soundbar or AV receiver rather than directly to your TV, the auto-detection routine may fail to identify your TV brand. Temporarily bypass the soundbar during setup, then reconnect it after programming is complete.
Method 1 — Program During Initial Roku Setup
If you’re setting up a Roku device for the first time, the remote programming wizard is built into the activation process. You’ll encounter a Check Remote Settings screen before you ever reach the home screen.
Steps During First-Time Setup
- Turn up your TV volume: Before starting, make sure the TV volume is at an audible level using your original TV remote. You’ll need to hear the test tone Roku plays.
- Begin the audio test: On the Check Remote Settings screen, follow the on-screen instructions. Roku will play a short music clip. If you hear it, select Yes.
- Mute test: Roku then attempts to mute your TV using IR codes matched to common TV brands. If the music stops, select Yes — this means Roku has detected your TV brand and is programming the remote accordingly.
- Brand not detected: If the music doesn’t stop, select No. You’ll be taken to an Enter TV Brand screen where you can manually input your manufacturer (e.g., Samsung, LG, Sony, Hisense). Select your brand and Roku will attempt another code set.
- Confirm setup: When successful, you’ll see a confirmation screen stating that your Roku remote is now set up to control your TV’s power and volume. Press OK.
- Test the power button: Press the power button on your Roku remote. Your TV should turn off. Press it again — your TV should turn back on. If both work, you’re done.
Note: If the power button only turns the TV off but doesn’t turn it back on (or vice versa), it may be a limitation of your specific TV model’s IR response. Try enabling HDMI-CEC on your TV for more reliable two-way control — covered in Method 3 below.
Method 2 — Set Up TV Control from the Settings Menu
Already past initial setup? No problem. You can run the TV control configuration any time from your Roku’s Settings menu. This also works if you’ve swapped out your remote or bought a replacement.
Steps via the Settings Menu
- Press the Home button on your Roku remote. This takes you to the main Roku home screen.
- Navigate to Settings: Scroll up in the left sidebar and select Settings.
- Go to Remotes & Devices: Select Remotes & Devices from the Settings menu. On older Roku OS versions, this may just say Remote.
- Select Remotes: Choose Remotes, then select your paired voice remote from the list. If your remote doesn’t appear, it needs to be paired first — hold the pairing button inside the battery compartment for five seconds until the light blinks.
- Start TV control setup: Select Set up remote for TV control. You may also see an option labeled IR setup — select that to begin the infrared programming process.
- Follow the on-screen prompts: The process mirrors the first-time setup. Roku plays a test tone, attempts to detect your TV brand via IR, and asks you to confirm if volume or mute responds correctly.
- Manual brand selection if needed: If auto-detection fails, you’ll be prompted to select your TV brand manually. Choose it from the list, and Roku will cycle through compatible IR code sets for that brand.
- Test and confirm: After successful setup, test the volume up/down, mute, and power buttons to verify everything works as expected.
The full path in shorthand: Home → Settings → Remotes & Devices → Remotes → [Your Remote] → Set up remote for TV control → IR setup → Follow prompts.
Method 3 — Enable HDMI-CEC for Automatic TV Control
HDMI-CEC (Consumer Electronics Control) is a protocol baked into the HDMI standard that allows devices on the same HDMI connection to exchange commands. When both your TV and Roku device have CEC enabled, your Roku remote can control your TV’s power and volume without requiring IR code programming at all — it sends commands through the HDMI cable itself.
This is generally the most reliable approach for modern TVs, and it eliminates the IR line-of-sight requirement entirely. The catch is that TV manufacturers brand CEC differently:
| TV Brand | CEC Brand Name | Where to Find It |
|---|---|---|
| Samsung | Anynet+ | Settings → General → External Device Manager |
| LG | SimpLink | Settings → General → HDMI Settings → SIMPLINK |
| Sony | BRAVIA Sync | Settings → Watching TV → External Inputs → BRAVIA Sync Settings |
| Vizio | CEC | Menu → System → CEC |
| TCL / Hisense | HDMI CEC | Settings → System → HDMI CEC Settings |
How to Enable CEC on Your Roku Device
- Press Home on your Roku remote.
- Go to Settings → System → Control other devices (CEC).
- Enable both 1-Touch play and System standby. These allow Roku to wake your TV and send it to standby via the HDMI connection.
- Optionally enable System audio control if you want Roku to manage audio routing through CEC as well.
Once CEC is active on both ends, go back and run the TV control setup via Settings → Remotes & Devices. The auto-detection should complete successfully since the TV and Roku can now communicate directly.
Heads up: Enabling “Auto power savings” on your Roku can occasionally conflict with CEC operation. If your TV isn’t responding reliably after CEC setup, try disabling that option under Settings → System → Power → Auto power savings.
Troubleshooting: Roku Remote Not Controlling TV Volume or Power
If you’ve gone through setup but the volume and power buttons still aren’t doing anything on your TV, work through these checks in order:
Check the Remote Type First
This catches most issues immediately. Press the volume buttons — if nothing happens at all and no indicator light blinks, confirm you actually have a voice/enhanced remote. Simple remotes cannot control TV volume regardless of settings.
Verify Pairing Status
Your Roku voice remote needs to be paired to your Roku device before TV control will work. Go to Settings → Remotes & Devices → Remotes and confirm your remote appears as paired. If not, hold the pairing button inside the battery compartment for five seconds while the Roku is powered on.
Replace the Batteries
Weak batteries cause IR signal failures more often than people expect. Even batteries that still power the directional buttons may not have enough juice to produce reliable IR output for volume commands. Swap them out before assuming a software issue.
Remove IR Obstructions
The volume and power functions on Roku voice remotes use infrared to control your TV — even though the remote itself connects to Roku via Bluetooth. So while you don’t need line-of-sight to your Roku device, you do need direct IR signal to your TV’s sensor. Make sure nothing is blocking the front panel of your TV.
Re-run TV Control Setup
If your TV responded during setup but stopped working afterward, the IR code association may have been cleared — particularly after a Roku OS update. Run through the setup again from Settings → Remotes & Devices → Remotes → [Your Remote] → Set up remote for TV control.
Try a Different IR Code Set
Many TV brands have multiple IR code libraries, and the first one Roku tries isn’t always the right one. During setup, if the auto-detected code works partially (volume works but power doesn’t, or vice versa), select No, try another code and let Roku cycle to the next code set for your brand. For ongoing troubleshooting, the Roku remote troubleshooting guide lists known code issues by TV manufacturer.
Check for Soundbar Interference
If your Roku is connected to a soundbar or AV receiver rather than directly to your TV, the auto-detection routine often fails to identify the correct TV brand. Temporarily connect Roku directly to the TV via HDMI, run the setup, then reconnect the soundbar afterward.
What If My Roku Remote Doesn’t Have Volume or Power Buttons?
If you have a Roku Simple Remote (no volume buttons), your options are:
- Roku Mobile App: The free Roku app for iOS and Android includes volume and power controls that work over your Wi-Fi network, provided your TV supports HDMI-CEC. It’s not a perfect substitute but works well for occasional use.
- Upgrade to a Roku Voice Remote: Roku sells compatible voice remotes separately, and they work with most current Roku devices. Confirm your Roku device model is compatible before purchasing — the remote’s product page lists supported devices.
- Sideclick Universal Remote Attachment: This clips onto your existing Roku remote and adds IR blaster capabilities for TV control. It’s a hardware add-on rather than a software fix, but it solves the problem without replacing your entire remote.
Going Further: Roku in a Smarter Home Setup
Once your Roku remote controls your TV reliably, you may find yourself interested in broader home automation integrations. If you run a homelab or self-hosted infrastructure, there are interesting patterns worth exploring — for example, routing audio device control through API-driven systems, as covered in this guide to API-based speaker control with Nginx. For those who want voice-free automation triggers across their home audio and entertainment stack, the deep-dive on automating Bose SoundTouch via n8n webhooks shows how MQTT-based sensor triggers can coordinate multiple devices. And if you’re running Home Assistant as the backbone of your smart home, the walkthrough on integrating natural language commands with Home Assistant via MQTT takes remote control to a completely different level.
Final Thoughts
Programming a Roku remote to control your TV comes down to two things: having the right remote (enhanced/voice, not simple), and running the IR setup wizard either during activation or through the Settings menu. For most users, the automatic detection works first try once the remote is pointed at the TV and the volume is audible. HDMI-CEC is worth enabling regardless — it makes the control more reliable and adds two-way communication between your Roku and TV that IR alone can’t provide.
If you run into trouble, the most common culprits are weak batteries, an obstructed IR path to the TV, or a soundbar interrupting the setup process. Resolve those first before assuming an incompatibility issue. And if your remote genuinely can’t control your TV — because it’s a simple IR model without volume buttons — the Roku mobile app or a hardware add-on are both workable solutions while you decide whether to upgrade.